 I finally had the chance to go to my neighbor's house and see the "room we don't speak of" and get more yarn. Oh goodness! That is a LOT of yarn!!!! I'm so jealous of her fabulous selection! So I brought home several partial skeins and a few full skeins of patterned yarns, or super colorful yarns. I think I may be set on yarns, at least for a little while!
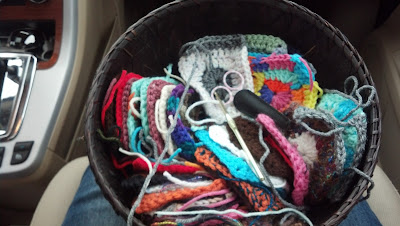
 Today we went to Cabela's, there is an upcoming camping trip, and we need supplies. So I took the basket of completed squares with me so I could start the binding process I decided to use. The original pattern calls for whip-stitching the squares together to form a row. The using the main color do a row of half double crochets between each row with a final border of half double crochets around the entire perimeter. I however have mastered the double crochet, so that's what I am using.
I am going to attempt to show and explain the one sided border that I am using to attach the squares together.
First, grab a completed square, and tuck the ends of the yarn in weaving it among the completed stitches and snip so the square is "pretty"
Then, in the ch2 space slip the crochet hook in, and grab a loop of the main color.
Bring it through and ch3 to start the border.
Dc12 (includes the ch3) to the end of the square. Make sure you leave a tail long enough to whip stitch it to the next square.
Below is a chain of squares I started on earlier today.
Have fun creating!


I didn't see this before today. I didn't check FB or Blogs last weekend. Very interesting! Thanks for sharing the link to magic squares! Thanks for the in-person lesson too!
ReplyDeleteLove,
JoMama